
Have an idea for a new website? Or plans to have audit of your website? Or maybe you want to move to Cloud after all these years. Well, this is what we are here for. You give the idea, we provide the solution.

Have your website audited and tested by our professionals. Find what you are missing all those days about your website and how we are going to secure those damn loopholes.

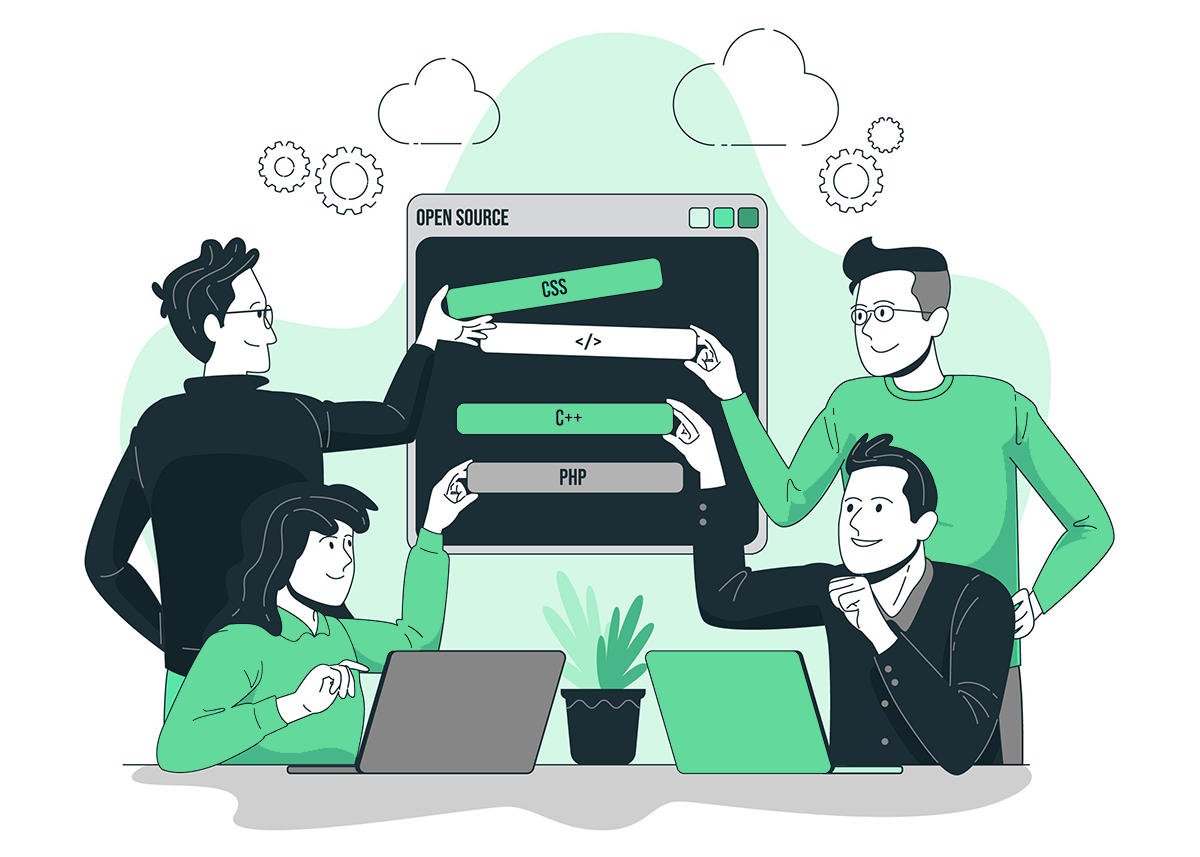
Have a new idea for a software or your website? Well, why not turn it into a reality then? You give the idea, we deliver the product. Waiting for your ideas!

Want someone to manage your resources in a Cloud? Probably a migration. Well, let us manage that stuff for you. Be it AWS, Azure, DigitalOcean, or Google, we provide the best.

Tired of Pushing, deploying and testing, right? Well, why not pipeline your process and have it secured on the way. We provide that kind of automation.
Our solutions are our identity and are unique like us. We don't just value the demands of our clients but the security of the application as well. A Secure application is what makes the investment worth all the time and money.
Satisfaction is what value the most during our communications with you and delivery of the end-product. We understand, make commitment, and provide the best of solutions.

 Contact Us
Prime Heights, E-11/4, Islamabad, Islamabad Capital Territory
Pakistan